How to Determine Machining Operations
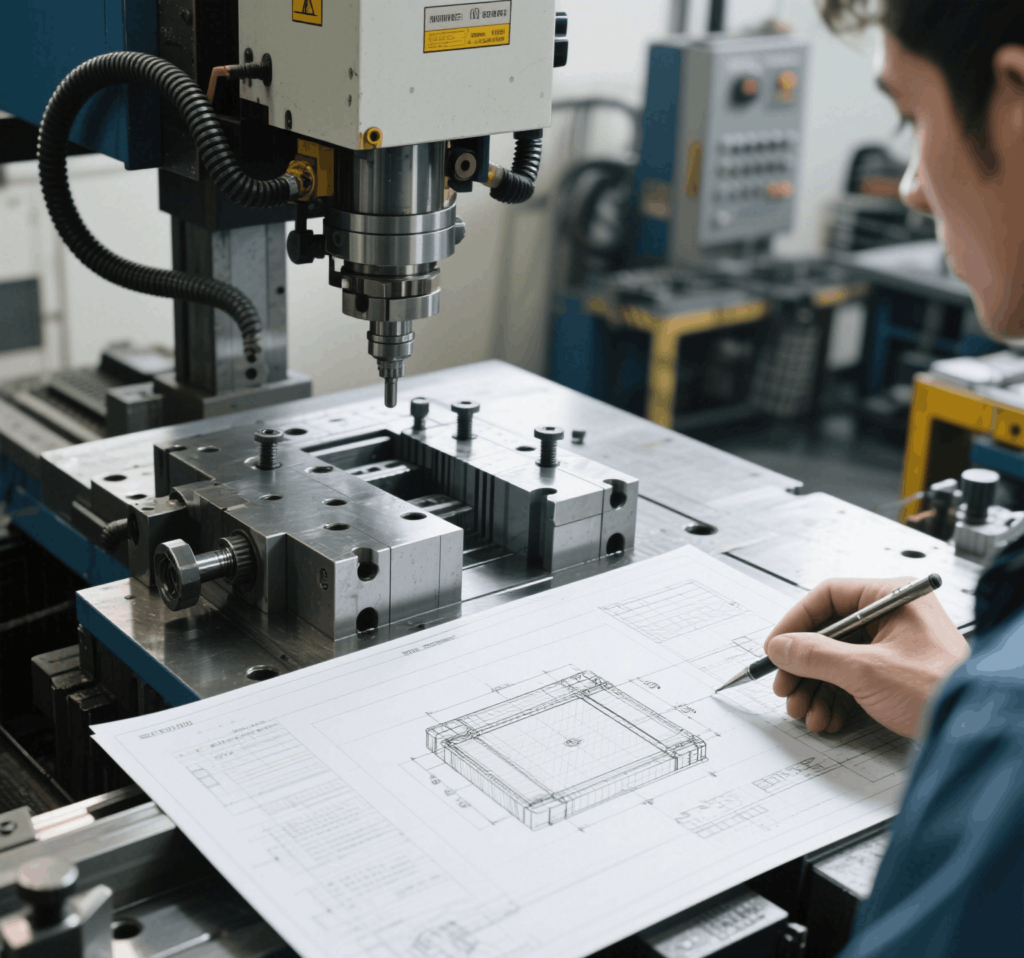
In the realm of CNC machining, translating a design drawing into a tangible part requires a strategic approach to machining operations—the core processes that bridge design intent and manufacturing reality. Whether you’re a seasoned engineer or a novice in CNC machining, understanding how to identify and sequence these operations is critical for efficiency, accuracy, and cost-effectiveness. This blog breaks down the key steps to determine machining operations directly from a design drawing, ensuring your workflow is optimized for success.
1. Analyze the Design Drawing Thoroughly
The first step in defining machining operations is to dissect the design drawing. Start by identifying all geometric features: holes, slots, threads, bosses, chamfers, and complex contours. Note dimensional tolerances, surface roughness requirements, and any critical dimensions that demand precision. For example, a hole with a tight tolerance (e.g., ±0.01mm) might require drilling followed by reaming or boring, whereas a larger, less precise feature could be milled directly. Mapping these features helps prioritize which operations are necessary and in what order they should be performed.
2. Assess Material Properties
The material of the part—whether it’s aluminum, steel, plastic, or a composite—dictates the feasibility and efficiency of machining operations. Soft materials like aluminum allow for high-speed cutting with aggressive feeds, while harder materials like titanium require slower speeds and specialized tooling to avoid tool wear. Consider factors like thermal conductivity, hardness, and chip formation; for instance, brittle materials may need lighter cuts to prevent cracking, while ductile materials might require frequent chip evacuation to avoid tool clogging. Adjusting machining operations to match material properties ensures both part quality and tool longevity.
3. Classify Features by Machining Type
Grouping part features into categories simplifies the selection of machining operations:
Rotational Features (e.g., shafts, cylindrical bores): These are typically processed using turning operations on a CNC lathe, involving steps like facing, roughing, finishing, and threading.
Prismatic Features (e.g., slots, pockets, flat surfaces): Milling operations on a CNC mill or machining center are ideal, using end mills, face mills, or slot drills to remove material in layers.
Precision Features (e.g., tight-tolerance holes, tapped threads): Operations like drilling, reaming, boring, or tapping may be required, often in sequence to achieve the desired accuracy.
Complex Contours (e.g., sculpted surfaces, 3D profiles): 3D milling or multi-axis machining operations become necessary, leveraging CAD/CAM software to generate toolpaths that match the design’s geometry.
By categorizing features, you can systematically assign the right machining operations and avoid overlooking critical details.
4. Evaluate Tolerances and Surface Finish Requirements
Tolerances and surface roughness (e.g., Ra values) are direct indicators of the machining operations needed. For example:
A surface with a rough finish (Ra 12.5μm) might only require a rough milling pass, while a smooth finish (Ra 0.8μm) demands a finishing operation with a sharp tool and fine feed rate.
Tight dimensional tolerances often necessitate multiple operations: roughing to remove most material, semi-finishing to approach the target dimension, and finishing to achieve the final size.
Always reference the design drawing’s tolerance stack-up to ensure machining operations align with the part’s functional requirements—over-engineering (e.g., using unnecessary precision operations) can increase costs, while under-engineering may lead to rejects.
5. Select Tools and Machine Capabilities
The availability of CNC machines (lathe, mill, turning center, multi-axis machine) and their capabilities (spindle speed, tool changers, axis movements) will influence machining operations. For instance:
A 3-axis mill can handle most 2D and 2.5D features, but a 5-axis machine is essential for complex, multi-sided parts.
Tool selection (end mill type, drill size, insert geometry) must match the feature requirements—e.g., a long-reach end mill for deep slots or a carbide-tipped tool for hard materials.
Ensure your chosen machining operations are compatible with your equipment’s limitations to avoid process errors or tool breakage.
6. Select Tools and Machine Capabilities
The order of machining operations is critical for efficiency and accuracy. Follow these best practices:
a. Start with Fixturing: Secure the workpiece firmly (e.g., using vises, chucks, or custom fixtures) to ensure stability during cutting.
b. Roughing First: Remove the majority of excess material with aggressive feeds and speeds to minimize cycle time.
c. Semi-Finishing and Finishing: Refine dimensions and surfaces, often switching to lighter cuts and sharper tools to avoid heat distortion or tool deflection.
d. Secondary Operations: Perform operations like threading, deburring, or drilling shallow holes after the part is mostly shaped to prevent damage to delicate features.
e. Multi-Sided Machining: If the part requires operations on multiple faces, plan for fixture changes or use a rotary table to access all sides without repositioning errors.
7. Validate with CAM Software and Simulations
Modern CAD/CAM software plays a pivotal role in defining machining operations. Import the design drawing, generate toolpaths for each operation, and simulate the process to identify collisions, tool overhang issues, or inefficient movements. This step ensures that the planned machining operations are not only correct but also optimized for speed and material removal. Adjust toolpaths as needed to refine the workflow before sending the program to the CNC machine.
Conclusion: Mastering Machining Operations for CNC Success
Defining machining operations from a design drawing is a blend of technical analysis, material knowledge, and practical machining expertise. By systematically analyzing features, tolerances, and material properties; matching them to the right tools and machines; and planning a logical sequence, you can transform a static drawing into a precisely manufactured part. Remember, every detail in the design drawing serves a purpose—aligning your machining operations with these details ensures quality, efficiency, and repeatability in CNC machining.
Whether you’re producing a simple bracket or a complex aerospace component, prioritizing thoughtful planning of machining operations will always yield better results. Start with the drawing, break down the requirements, and let each operation serve as a step toward bringing your design to life.
Ready to apply these steps to your next project? Share your experiences with machining operations in the comments below!